

Whether you're going into your lab for board bring-up, functional testing, or EMC testing, you should always walk into the lab with a plan of action. EMC testing is often the final barrier between a design and executing a GTM strategy, and it’s the stage where design oversights tend to reveal themselves. By the time you reach formal EMC testing, every design choice has been locked in. The goal isn’t to redesign on test day, but to verify performance, document results, and make quick, informed decisions if testing failure is observed.
Whether you will perform formal testing in an external accredited lab or you plan to self-certify (e.g., for a CE marking), you should perform some basic preparation before test day. Equipment calibration, setup validation, and pre-test diagnostics are what make the difference between efficient testing and wasted time in the lab. The following five steps outline how an engineering team can prepare for EMC lab testing in a way that prevents delays and reduces surprises.
Verify Instrument Calibration
It might sound obvious, but if you are personally doing any kind of testing, you should know the calibration date for an instrument before doing any work in the lab. If possible, you should verify the test instrument calibration is still valid before running any pre-compliance checks.
We understand it is not practical for an in-house lab or individual designer to fully calibrate every instrument before every trip to the lab. Some instruments have complex calibration procedures and the instruments are often sent to an external specialist for calibration. However, you should at least know the most recent calibration date to recognized standards, either the vendor’s standard or an industry standard. EMC testing involves quantitative measurements, so even a small calibration drift in your spectrum analyzer or current probe can lead to incorrect conclusions about your emissions margin.
Keep a record of calibration certificates for the following instruments:
|
Instrument Type |
Typical Calibration Interval |
Notes |
|
Spectrum analyzer |
12 months |
Ensure amplitude and frequency accuracy against a reference |
|
Line impedance stabilization network (LISN) |
12–24 months |
Confirm insertion loss remains within tolerance |
|
Current probes |
12 months |
Re-characterize transfer impedance after calibration |
|
Oscilloscopes |
12–24 months |
Check time base and voltage accuracy |
As a quick check for valid calibration, take two measurements at the high end and low end of the measurement range you will be working in; a properly calibrated instrument with a linear transfer curve should be accurate at all values between those two values.
Know Your Requirements Under EMC Standards
EMC testing can only be as effective as the test plan driving it. Before the lab day, review the test plan for your design and verify that your test plan sufficiently addresses the requirements given in your EMC standards.
The checklist below can help organize this process:
- Confirm which EMC standards and limits apply (CISPR 32, FCC Part 15, EN 61000-6-3, etc.)
- Identify active I/O and power ports for each test phase and determine how relevant probes will interface with these
- Define operating modes (normal, standby, and maximum load conditions)
- Verify required test fixtures or auxiliary equipment (LISNs, filters, dummy loads, etc.)
- Document power input type, grounding method, and cable routing requirements
If you’re working with an accredited lab and you are still in the design phase, they can often advise on what the test plan will be for your product, and they can provide some insight on how the tests will be performed on test day. This may provide insight into how you should complete your PCB layout in order to stay within EMI limits.
.png)
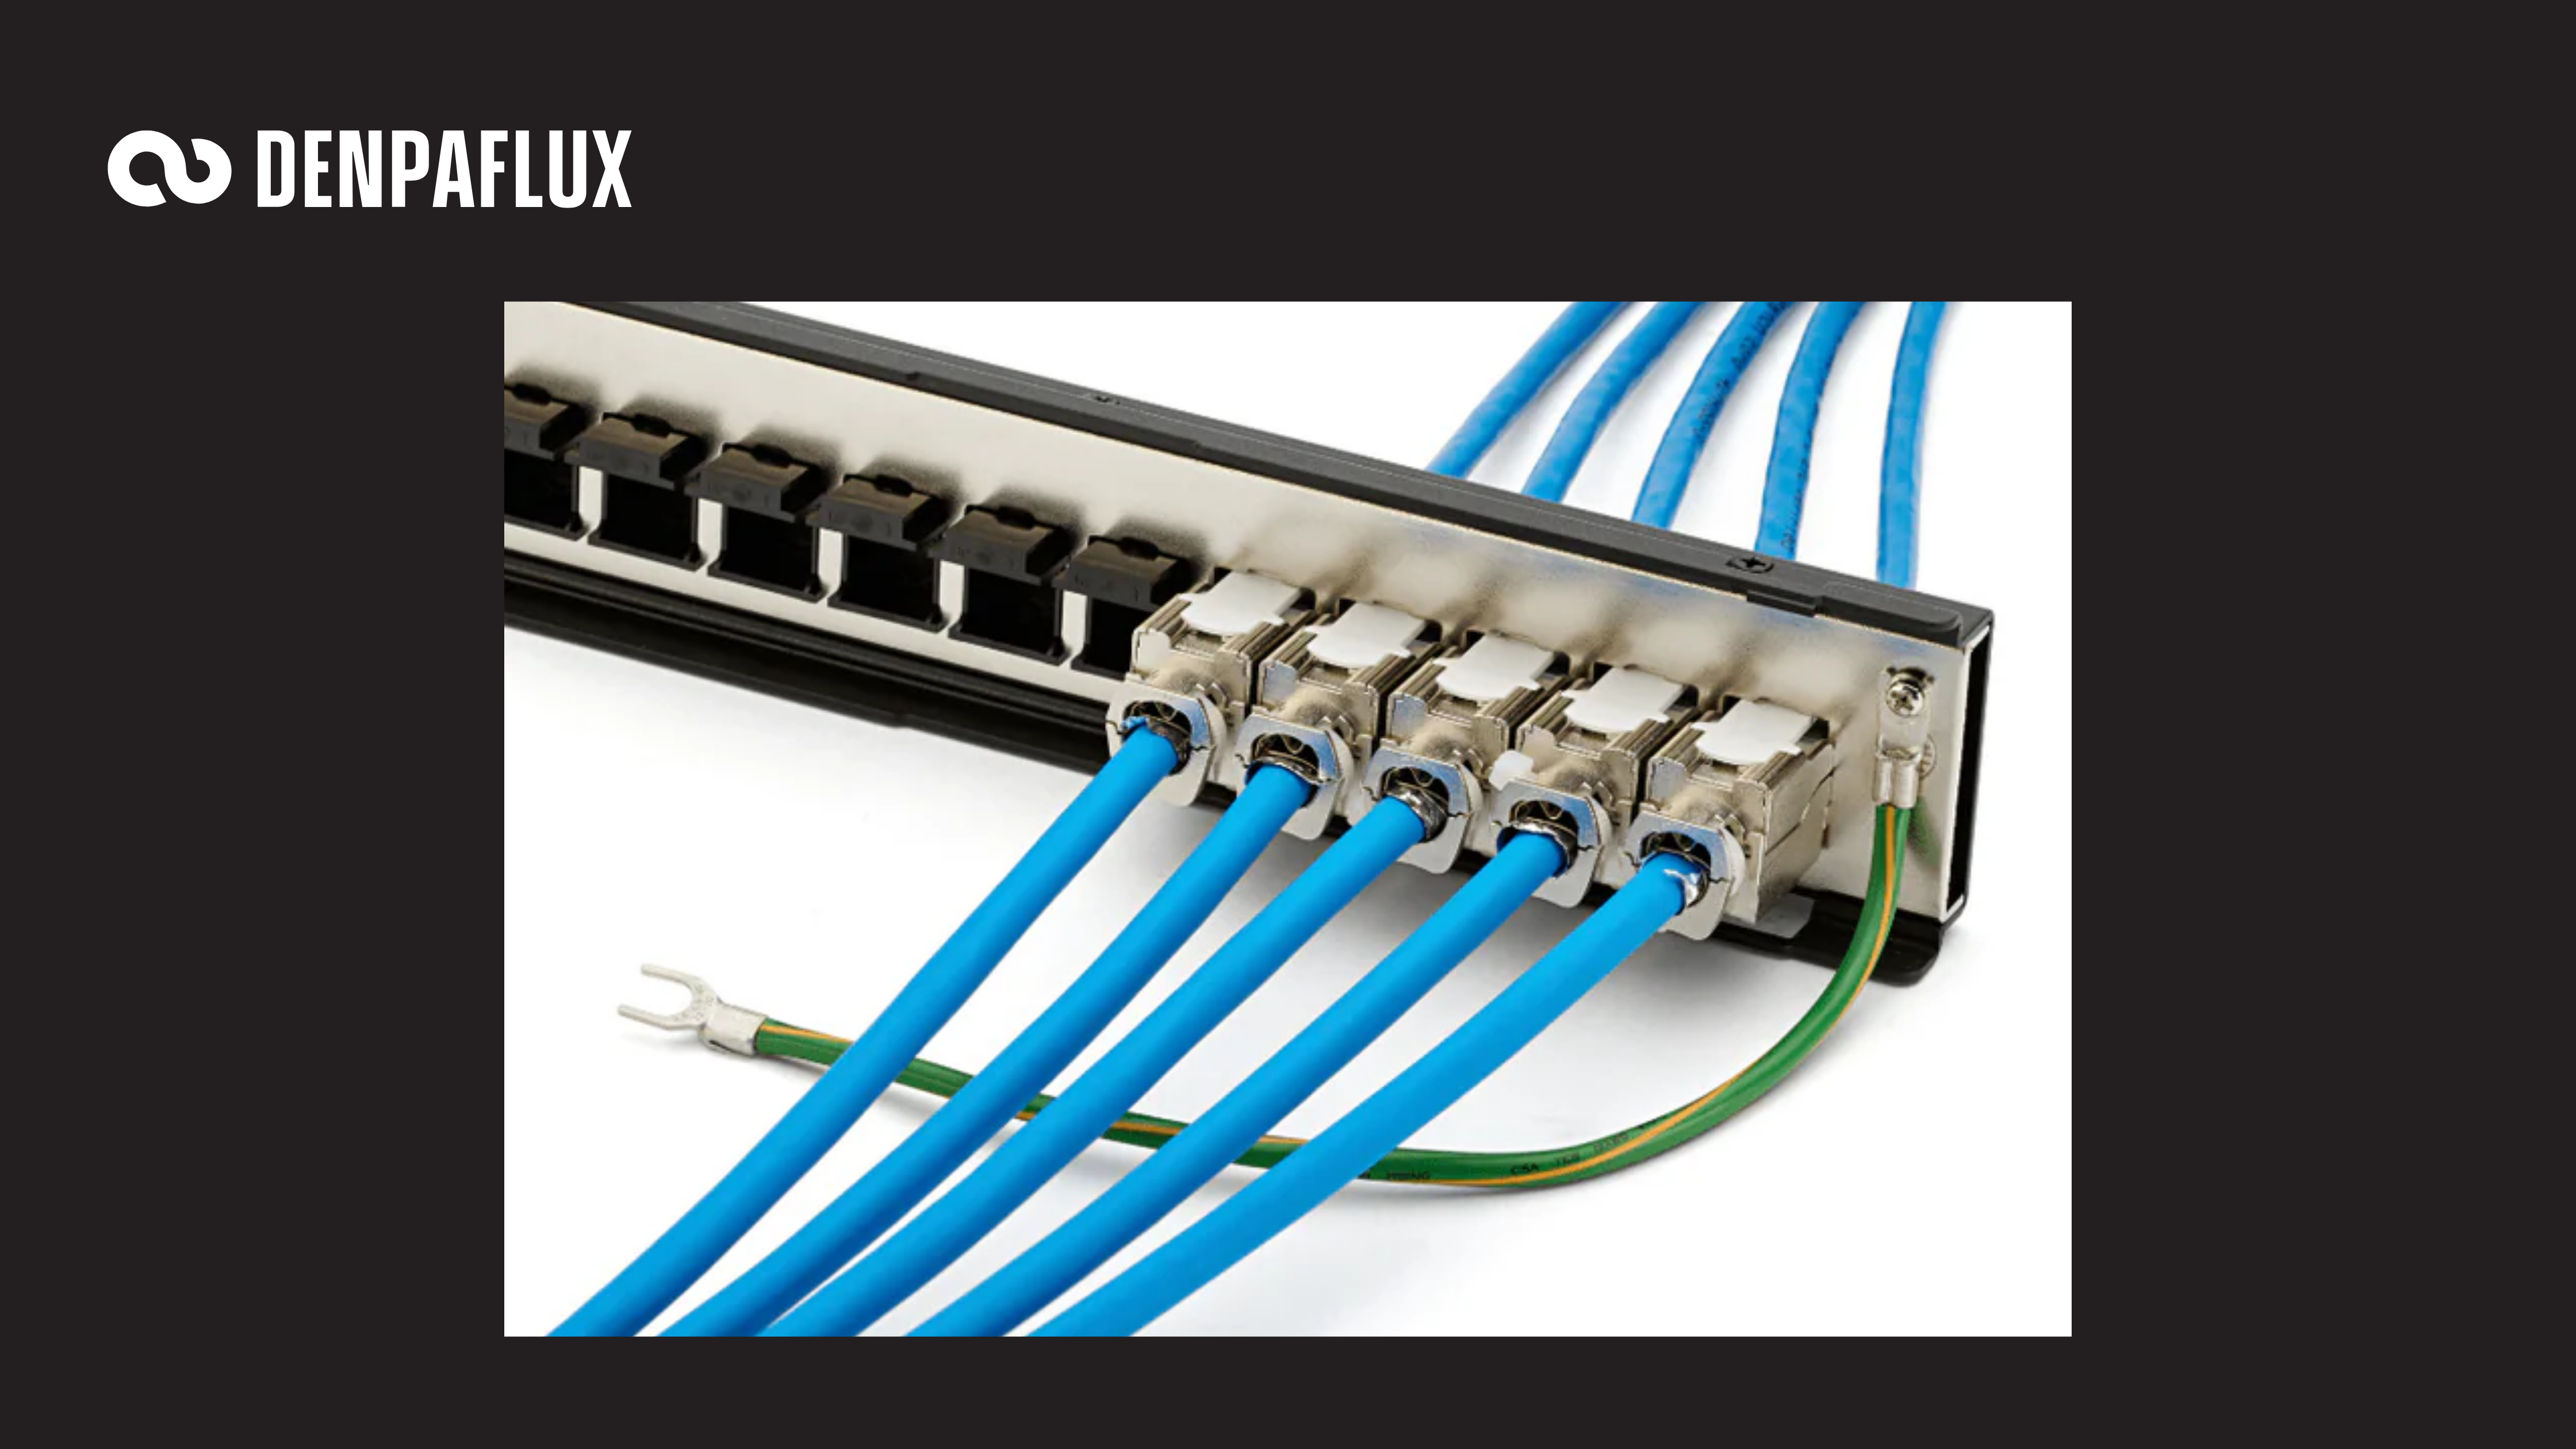
Build and Validate a Known-Good Test Configuration
A reproducible configuration ensures consistent behavior from the DUT throughout testing. When multiple subsystems are active, noise behavior can shift depending on the load, clock frequency, or firmware tasks running in the background. Locking down the test configuration eliminates this uncertainty.
Steps to validate your setup:
- Freeze firmware and ensure that all code revisions are documented
- Disable unnecessary background tasks that could alter I/O activity or current draw
- Keep all communication interfaces active and transmitting realistic data
- Label every cable and connector, and photograph the setup for reassembly
- Bring spare PCBAs, power adapters, and cables: failures are common after multiple test cycles
If your product supports multiple modes, determine which mode creates the worst-case emissions or susceptibility profile. For example, the system might radiate more when switching converters are fully loaded or when high-speed data links are active. During testing, the lab engineer will appreciate having a clear list of which operating states to use for each test.
Check Ground Integrity
Many emissions failures trace back to ground loops, floating metal, insufficient ground on the PCB, or incorrect implementation of ground on connectors or shields. The mechanical and electrical interfaces between PCB ground, chassis, and external cabling often define coupling paths that determine emissions and susceptibility.
Before shipping or bringing the system to the lab:
- Verify any shielding terminations and chassis bonds are continuous and low resistance
- Check for floating shield connections that should be tied to ground at one end
- Use a DMM or continuity tester to verify connection resistance below a few milliohms
- Review cable routing (including inside an enclosure) to prevent large loops near high-frequency current paths
Bring spare materials for on-site mitigation, such as ferrite cores for cables, copper tape/elastomer compound, EMI gaskets, conductive foil, additional wiring with alligator clips, and ground lugs. These allow quick troubleshooting of grounding, shielding, and emissions on cabling.
Collect Pre-Test Data
Before formal EMC testing or self-certification testing, perform pre-compliance testing on a prototype. Ideally, you should do some pre-compliance testing before completing the prototype spin which will go through formal EMC testing. Performing some probing can reveal coupling mechanisms before formal EMC testing. Even if you lack a full anechoic chamber, a basic bench setup with a spectrum analyzer, a set of near-field probes, and a LISN can provide useful data.
How to approach pre-test diagnostics:
- Power the DUT in its worst-case operating mode and monitor emissions with a near-field probe
- Identify spectral peaks and toggle system activity to see what is producing each peak
- Record the amplitude and frequency of dominant harmonics as these are likely to reappear in an anechoic testing chamber
- Test clock lines, switch nodes, and long cable runs for strong coupling and emissions
- Evaluate ESD and surge paths to ensure currents will not damage the system
Near-field results won’t directly predict compliance, but they provide relative data. You’ll know which board areas are noisy and which frequencies dominate. If emissions peaks and their harmonics align with specific switching converters or digital clocks, you can experiment with shielding, snubbers, or filtering before the final prototype run or lab visit.
|
Measurement Type |
Purpose |
Tool/Method |
|
Conducted emissions |
Identify noise on power input |
Spectrum analyzer + LISN |
|
Near-field scan |
Locate coupling sources |
Near-field probe set |
|
Common-mode current |
Measure cable radiation potential |
Current probe |
|
ESD withstand |
Check transient current return |
ESD gun or discharge network |
When you enter an EMC lab, your preparation defines your success. Every probe, cable, and grounding point tells part of the story but understanding the why behind EMC behavior is what separates efficient teams from those fighting last-minute fires.
At DENPAFLUX, we’ve seen hundreds of boards that have EMC/EMI issues before reaching the test lab. The difference always comes down to EMC understanding applied early. Our team of EMC Experts specializes in translating complex EMC behavior into clear, design-level decisions that prevent test-day surprises.
If you’re preparing for your next EMC test or need a second pair of expert eyes on your layout, our EMC Experts can review your design and highlight high-risk areas before you ever step into the lab.
👉 Talk to an EMC expert at DENPAFLUX and make your next test day predictable.


-1.png?width=352&name=image%20(3)-1.png)